Adding garage floor coatings to your space is an excellent way to improve its durability, appearance, and ease of maintenance. Knowing the installation process can help you feel confident as you prepare for this upgrade. M3 Concrete Coatings specializes in professional garage floor coatings that deliver long-lasting results. Here’s a step-by-step guide to what you can expect during the installation process.
1. Inspection and Initial Preparation
The first step in any garage floor coatings installation is an initial inspection and preparation of the space. The team will assess the condition of your garage floor, looking for any existing damage, cracks, stains, or uneven areas. This preparation is crucial because it ensures the coating bonds effectively to the surface, delivering a smooth and flawless finish. M3 Concrete Coatings prioritizes thorough preparation to ensure long-lasting results.
2. Cleaning and Surface Grinding
After inspection, the next step is cleaning the floor to remove any dirt, dust, and debris. This ensures that nothing interferes with the bonding process. Then, the surface is ground using specialized equipment to create a rough texture on the concrete. This step is essential as it helps the garage floor coatings adhere firmly to the surface, providing maximum durability and eliminating any minor imperfections for a smooth base.
3. Repairing Cracks and Imperfections
If there are cracks, chips, or other imperfections, they are repaired before the coating application. Repairing these issues ensures a level surface and enhances the coating’s durability. M3 Concrete Coatings uses high-quality patching materials to fill any gaps, creating a smooth surface. This guarantees that the new garage floor will look polished and seamless.
4. Application of the Base Coat
Once the floor is clean, ground, and repaired, it’s time to apply the base coat. This first layer of garage floor coatings penetrates the concrete, bonding tightly to create a solid foundation for the additional layers. The base coat is crucial for ensuring the durability and longevity of the coating system. Depending on the type of coating chosen—such as epoxy or polyurea—the base coat may require specific curing times.
5. Adding Decorative Flakes (Optional)
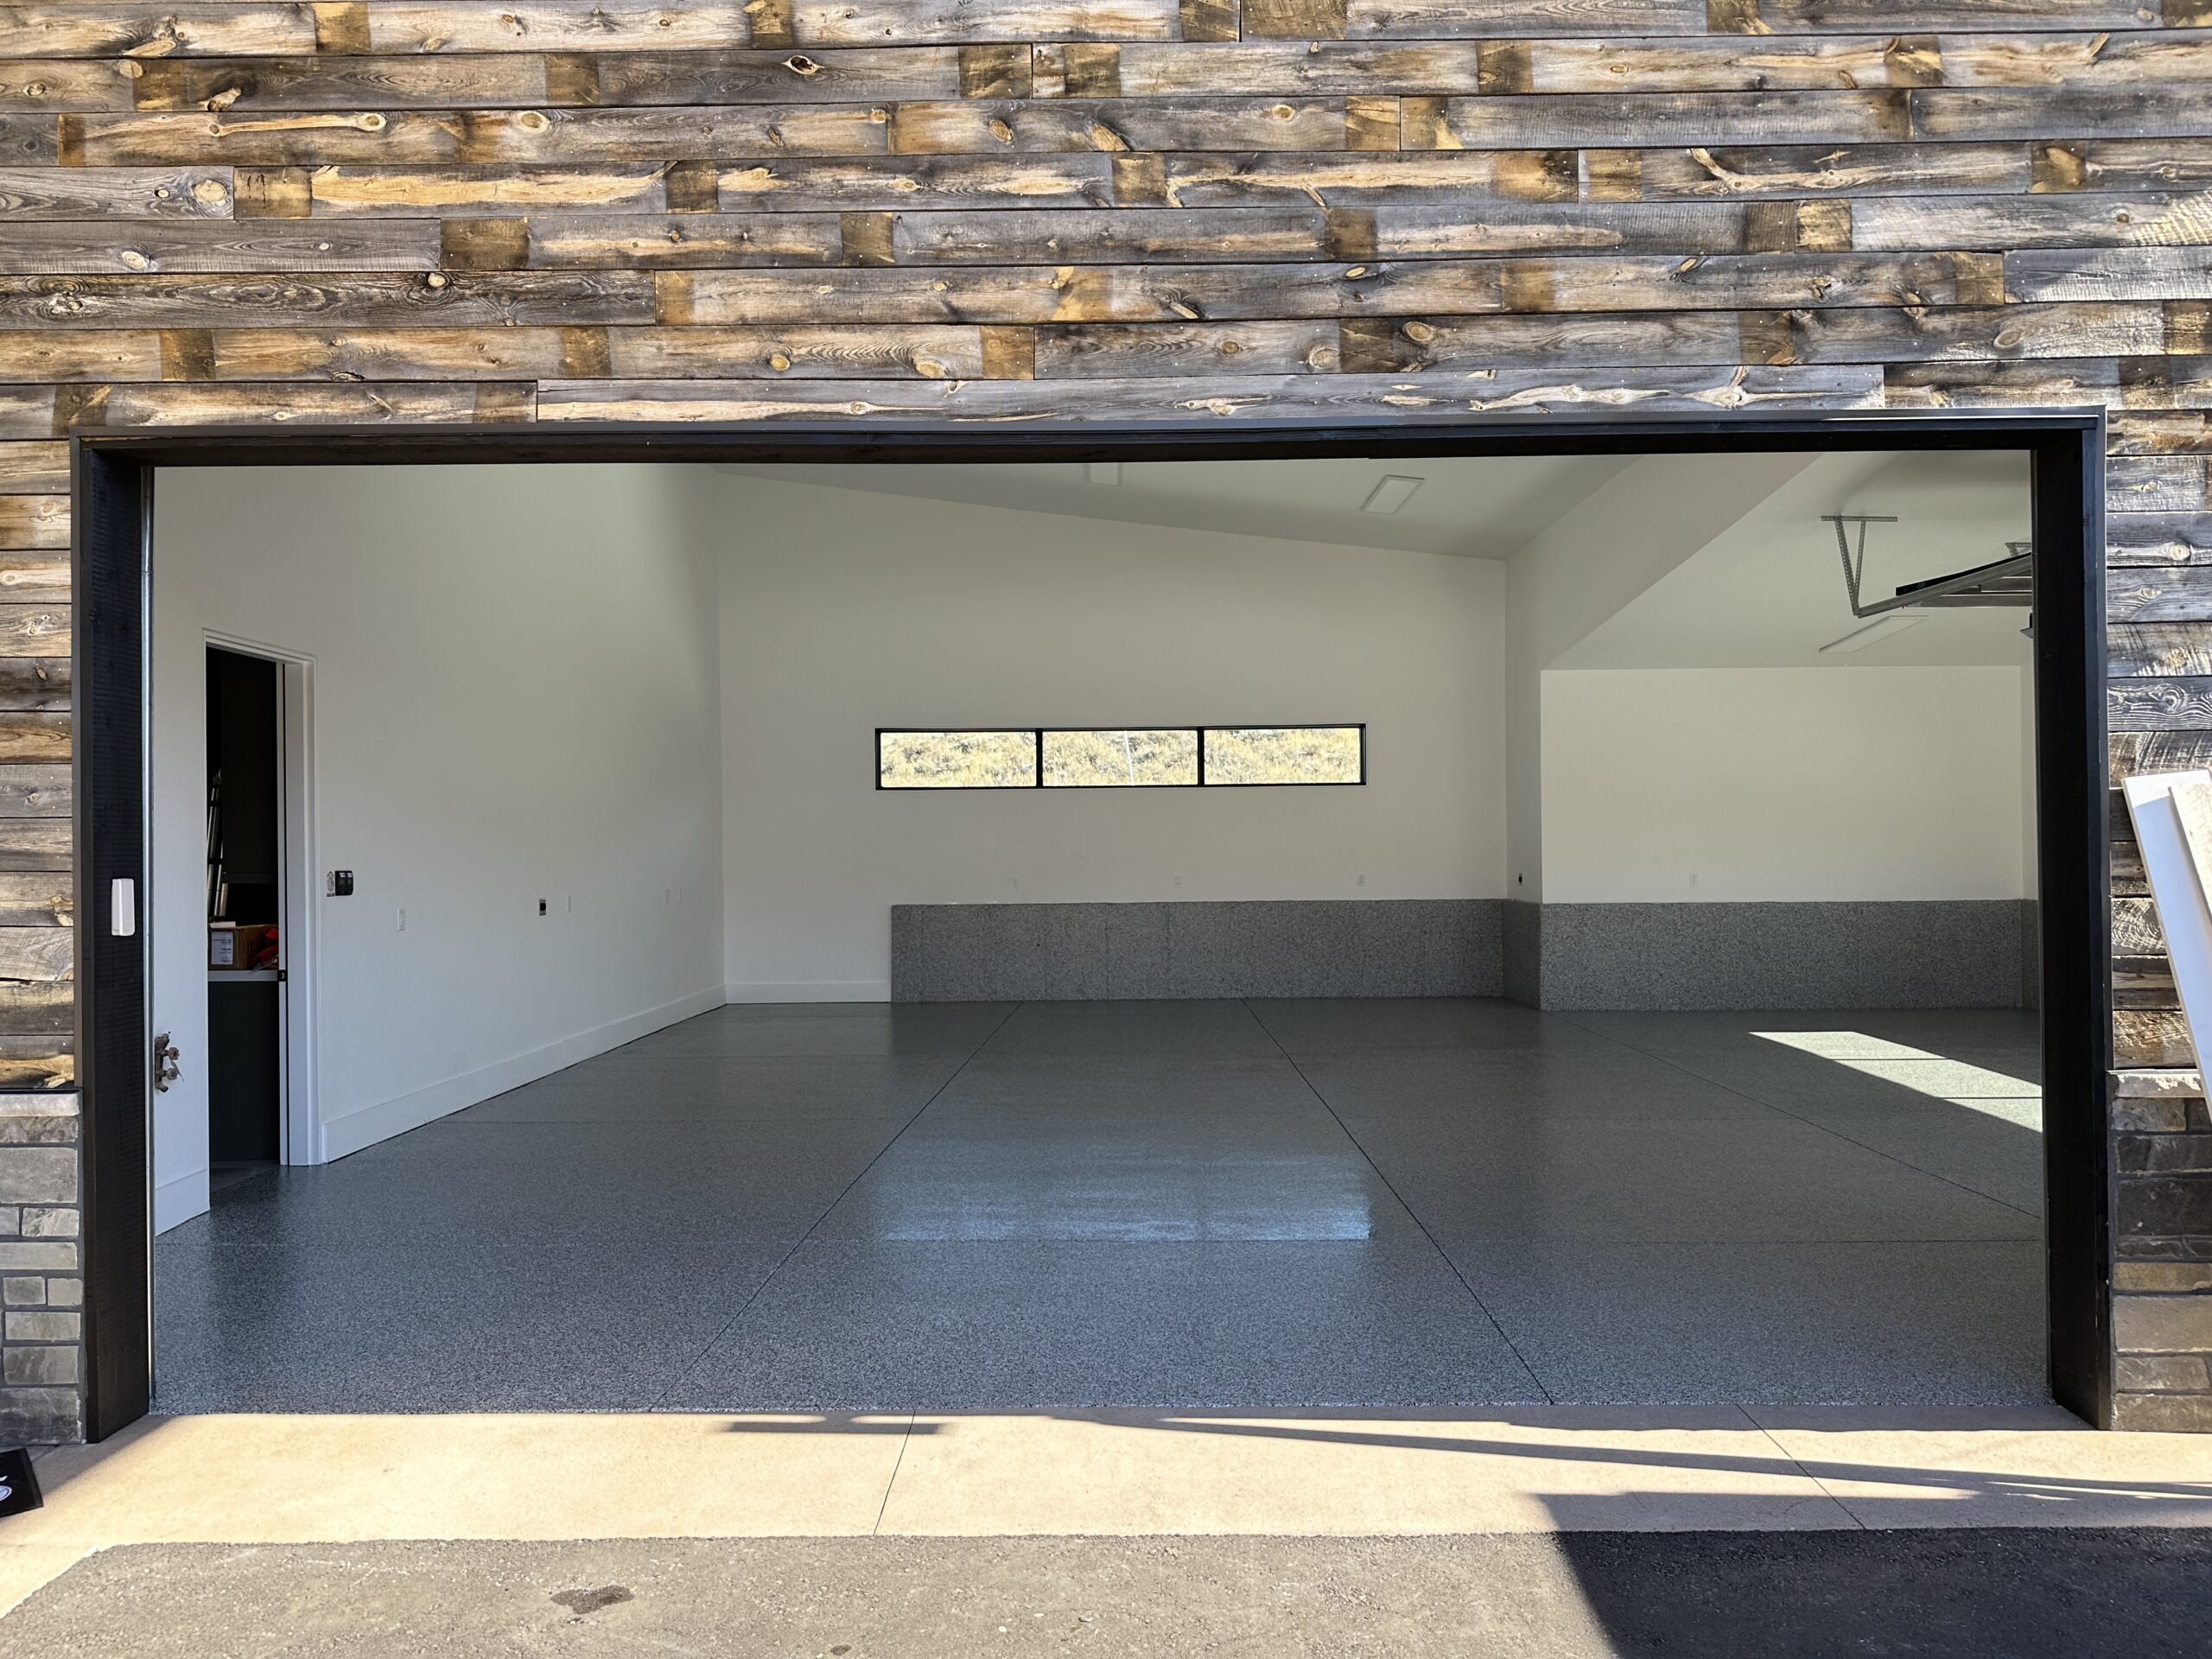
If you’ve chosen to include decorative flakes, they are applied during this stage. Decorative flakes not only enhance visual appeal but also improve traction, providing a slip-resistant surface. The flakes are broadcast over the wet base coat and become embedded as it cures, creating a custom look. M3 Concrete Coatings offers a variety of flake colors and styles, allowing you to personalize your garage floor.
6. Applying the Top Coat
The final step is applying the top coat, a clear protective layer that seals the entire coating system. This top coat guards against moisture, chemicals, and everyday wear and tear, while also providing a glossy or satin finish based on your preference. After applying the top coat, it will need time to cure, but generally, you’ll be able to walk on it within 24 hours and park vehicles within 48-72 hours.
Why Choose M3 Concrete Coatings for Your Garage Floor Coatings?
At M3 Concrete Coatings, we’re committed to delivering high-quality garage floor coatings that transform your space. Our team follows a detailed process from preparation to final application, ensuring that your garage floor is durable, stylish, and easy to maintain. We take pride in every step, guaranteeing your satisfaction and a flawless finish.
Contact M3 Concrete Coatings today to learn more about our garage floor coating options and how we can help enhance the look and functionality of your garage.